So far, I’ve only shared a few things, and all of them have been made from someone else’s patterns. So today, I thought I would share something I made (a while ago), from start to finish, out of my own brain. I’ll include a little about what I did, and so while this is not really a full fabulous tutorial, if you are a little familiar with sewing, you can get the picture of what’s going on. Hopefully, it will make a little sense anyway.
If you follow enough patterns, you realize that a lot of them are basically the same, and so I thought I would try my hand at it…

Doll pattern: put together
Try to ignore my little clay pieces, and focus on the doll…and yes, she is made out of construction paper. Don’t laugh, it’s what I had (I ran out of cereal boxes, which are great fodder for patterns.)! And it did work…and that’s what counts, right?

Doll pattern: seperated
So now, here’s the same doll pattern, but in separate pieces (minus the legs…there wasn’t enough room on the table to spread those out too…but they were separate like the rest of it.). The head and torso were one piece, and many doll patterns in this style do it that way.
Basically, at this point, I cut out all the body pieces in fabric. For the shoes, I used felt, so I cut that as well. A note about the shoes being the exactly the same size as the leg piece: Using fabric (for the leg), you have to sew the right sides together and have a seam allowance (again, if you sew, you know this). Since felt doesn’t fray, you don’t have to do it that way, you can just whip stitch it if you choose. It ends up (if you take that into consideration), your felt shoes will fit pretty much perfectly onto your doll’s fabric legs if you started out with the leg and shoe pieces being the same size. As you can see in here (if you overlook how blurry it is…):
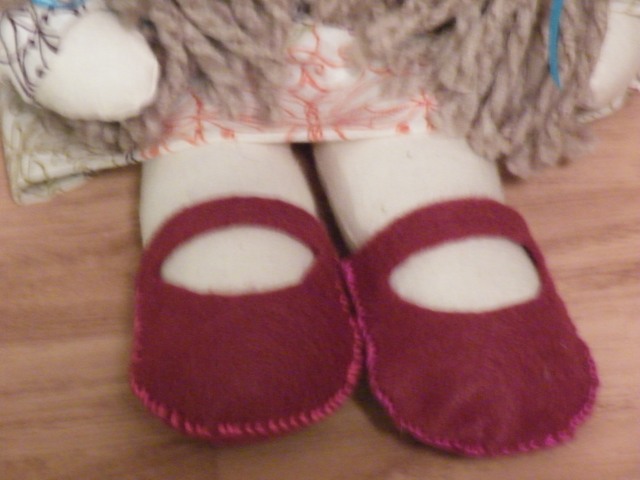
Eek, I love these!
The same concept would work if you chose to do felt hair. Originally, I was going to do felt hair but didn’t have enough felt but chose to go with yarn because it looked better.
Faces can be done either before or after you sew and stuff. I usually end up doing it after, because that way I can mess around with the placement of things and pick what colors look better and the like. If you do it before you sew and stuff, it is a little more difficult to make changes in my opinion, so I wait till after.
All I did for the hair was to fold a piece of paper in half, and lay yarn inside the folded paper. Then you just run it through the sewing machine (paper and all), pull the paper off and you’ve got some great doll hair which you can braid or make buns in or let hang (I picked braids!). All you have to do is use a few quick stitches to attach it to her head (again, I always mess with placement…maybe this doll has a short forehead, maybe she’s got a receding hairline…you never know till you play!)
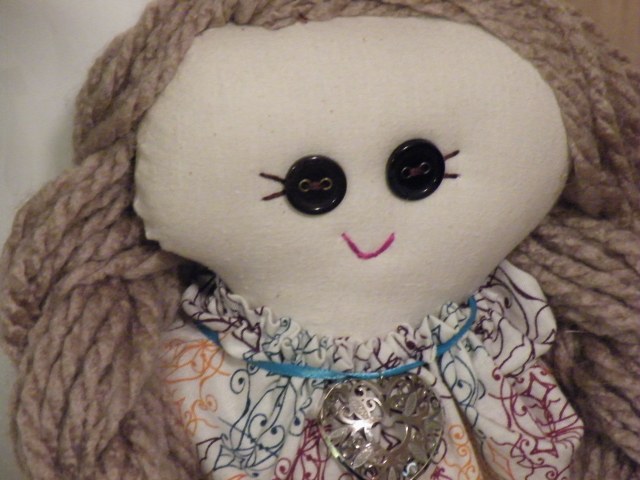
What a doll face! I like her eyelashes. They slightly nudge out the shoes as my favorite thing about the doll.
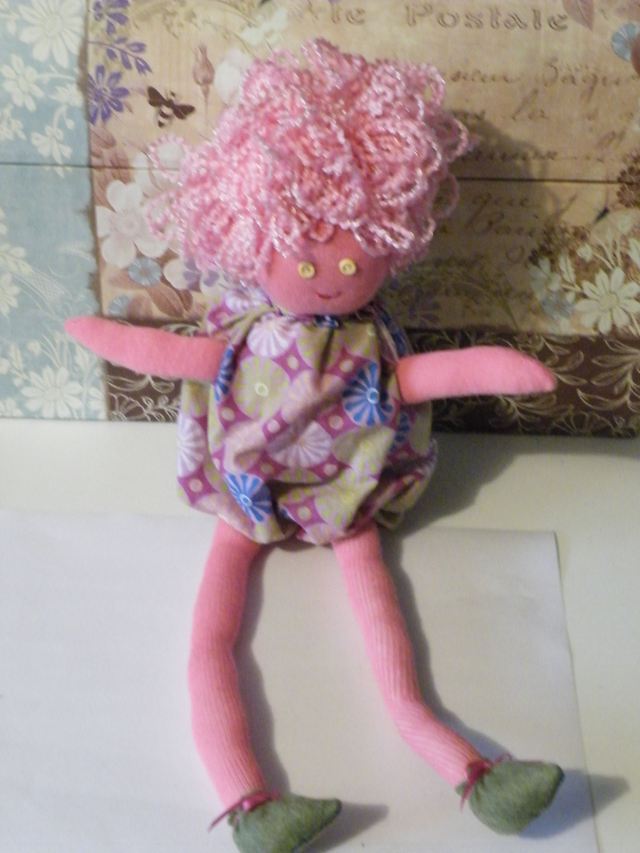
For her dress, I just cut a rectangle with two rectangle shapes for her arms to go in. I sewed up the important edges and hemmed the bottom and sleeves. Then I put it on her (so that I could be sure the arms would go into their holes and turned over the top edge and did a quick straight stitch gather for the neck. And voila! Finished doll!

Here she is in all her finished glory.
So what do you think? I hope this almost tutorial was helpful. If you have any questions or anything at all to add, please feel free to leave me a comment!
